
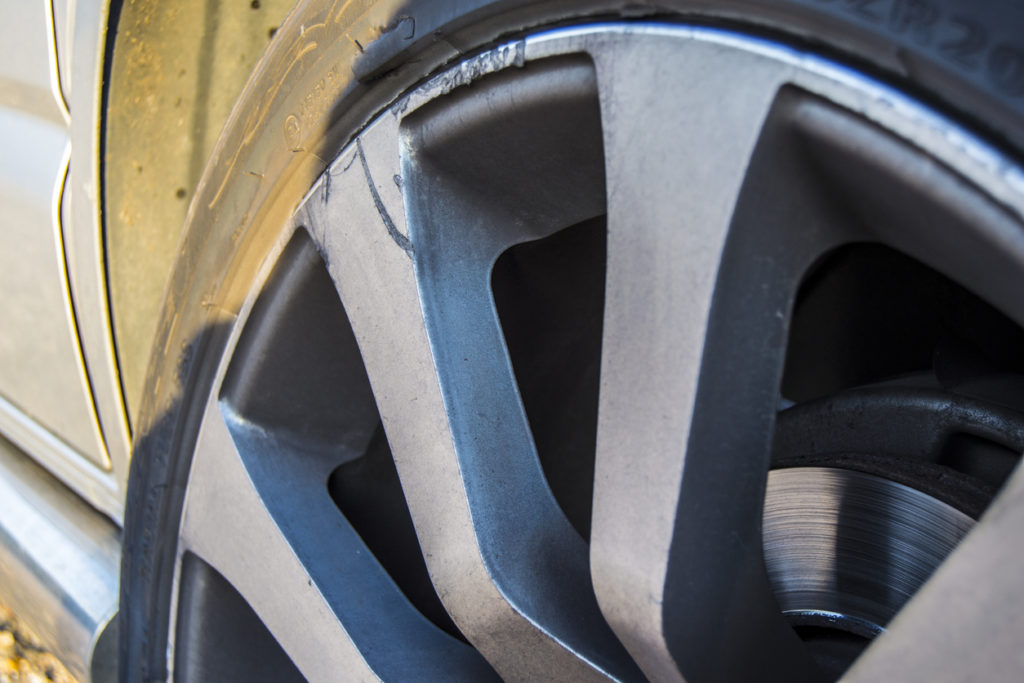
Whether you’ve had a run-in with the kerb or scuffed your wheels manoeuvring around a tight corner, alloys can take quite the beating over time. If yours are starting to look like they’ve seen better days, you might be wondering if it’s possible to refurbish them.
Well, the good news is you can refurb your alloys, and all it takes is patience, the right products, and a little know-how. And with proper preparation, it can be inexpensive and simple to complete as a satisfying and cost-effective DIY project.
We’ve created a handy step-by-step guide complete with methods and materials that you can use for your at-home alloy refurbishment.
Quick links
- How to Prepare Your Alloys for Refurbishing
- Fixing Scratches on Alloys
- What Should I Use as a Pre-Treatment?
- Painting Your Alloy Wheels
- Finishing Touches: Polishing & Buffing
How to Prepare Your Alloys for Refurbishing
If you can, we’d recommend removing the wheels from the car before refurbing the alloys. That way you can work more comfortably and won’t miss any hard-to-reach areas.
To remove the wheels, you’ll need a jack as a minimum. You can do it one wheel at a time if you only have a jack, whereas jack stands will let you remove all the wheels at once.
That said, it’s not impossible to refurbish your alloys with the wheels on the car. But you may have to roll forwards and backwards to make it easier to get at the entire surface.
Either way, the alloys should be thoroughly cleaned before you start, with all stubborn residue like brake dust removed before continuing.
Our Ultracare Alloy Wheel Cleaner uses a unique acid-free formula to clean your alloys without the corrosive effect to keep them in the best condition possible. It can also be used on all wheel types, from lacquered to chrome, making it the best product to use in this situation.
Struggling to get your alloys clean? Our alloy wheel cleaner guide can provide some essential tips.
Fixing Scratches on Alloys
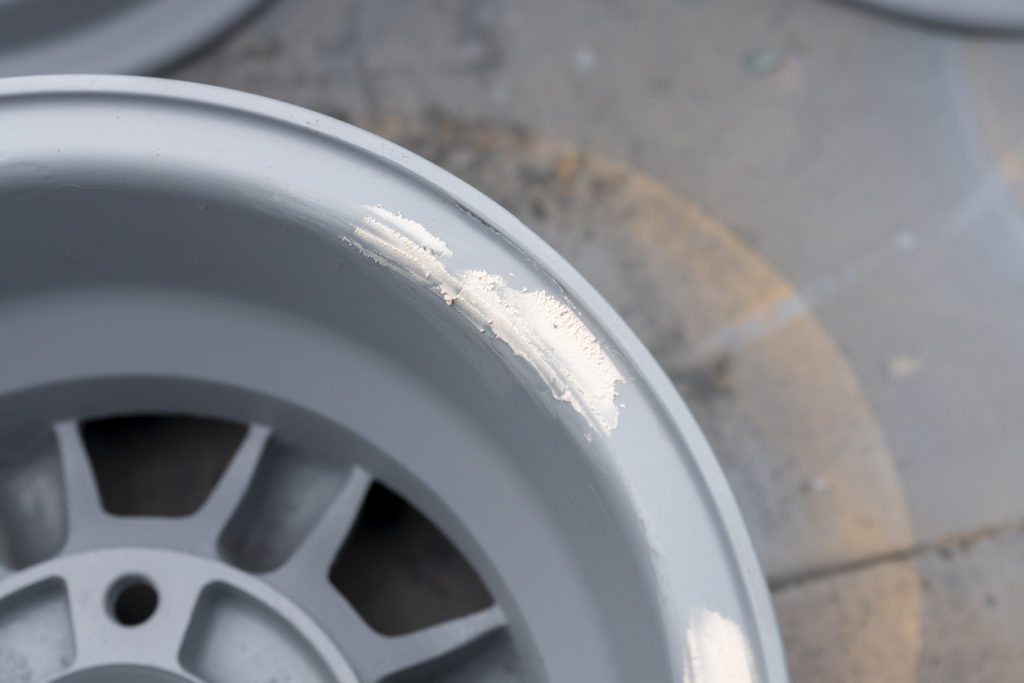
It’s important to sand the alloys to ensure the finish is smooth before using a filler on any deep scratches. Flaked paint or corroded areas will require coarse sandpaper at this stage, with finer grits needed after using the filler.
The first round of sanding should remove smaller surface level scratches easily while deeper scratches and small holes will be easiest to fix using an alloy wheel filler followed by a secondary sanding.
You will likely need to wait for the filler to dry before sanding over it again with fine grit paper for a smoother finish that matches the rest of the alloy, but this shouldn’t take too long.
Top tip: only use a small amount of filler, adding more as and when needed. The more you use, the longer it will take to dry and the longer the sanding process will take. For the best results at this stage, take your time applying only where the filler is needed.
What Should I Use as a Pre-Treatment?
If you decide not to remove the wheels from the car, you should use masking tape at this stage to ensure you don’t get any treatments on the bodywork. The same goes for the tyres, too.
Once you’ve ensured no dust particles or residue are remaining after sanding and filling and you’ve achieved a nice smooth finish, it’s then time to prime the alloy to ensure it is ready to be repainted.
Using a strong adhesive base like our Etch Primer that can effortlessly bond with the shiny surface is recommended as this will help the paint last longer and provides additional base-level protection against rust and corrosion. It is safe to use on all metal surfaces and will provide the best base for your paint to stick to.
Painting Your Alloy Wheels
When choosing your paint, you should try to match the original colour as best as possible. This can be done by applying light layers of paint lacquer so that you can see how it dries before continuing.
Spray paints are the easiest to use for this as they can easily be applied in thin and even layers. They’re also great for ensuring full coverage in those hard-to-reach spaces around the alloy.
During the painting process, you should ensure you are applying it in a dry, wind-free, and warm environment if possible. You should also protect surfaces like clothing and floors wherever possible and have a couple of face masks to hand so that you aren’t breathing in paint fumes and particles.
Once you’ve finished painting and waited until it is completely dry, don’t forget to add a few layers of the clear coat which will protect your paint and ensure the finish looks its best for longer.
Finishing Touches: Polishing & Buffing
Once the wheels have completely dried and you’re happy with the overall look, you can buff and polish the metal.
Start by applying metal polish with a dry soft cloth, which you should allow to harden before using another soft, clean cloth to buff the alloys until you’re left with a quality shine.
For more motoring and car care advice, head to the Simoniz blog or check out our complete product range.