Is your timing belt or water pump faulty or in need of a replacement? You could save money on expensive repair bills by carrying out the work yourself – provided you know your way around an engine bay.
Here, we provide a step-by-step guide on replacing a timing belt and water pump, and answer a few common queries on the cost of replacements and when the work needs doing.
Quick Links
- Is the timing belt the same as the cambelt?
- Where is the timing belt located?
- Can you change the water pump without changing the timing belt?
- How to Replace a Timing Belt and Water Pump
- When Should I Replace My Timing Belt and Water Pump?
- Signs that Your Timing Belt and Water Pump Need Replacing
- How Long Does it Take to Change a Cambelt and Water Pump?
- How Much Does it Cost to Replace the Timing Belt and Water Pump?
Blog Sign Up
"*" indicates required fields
Is the timing belt the same as the cambelt?
The timing belt is exactly the same as the cambelt, there is no difference. The cambelt (or timing belt), synchronises the movement of the crankshaft and camshafts. This means that the engine intake and exhaust valves open and close at the correct time with the pistons.
Where is the timing belt located?
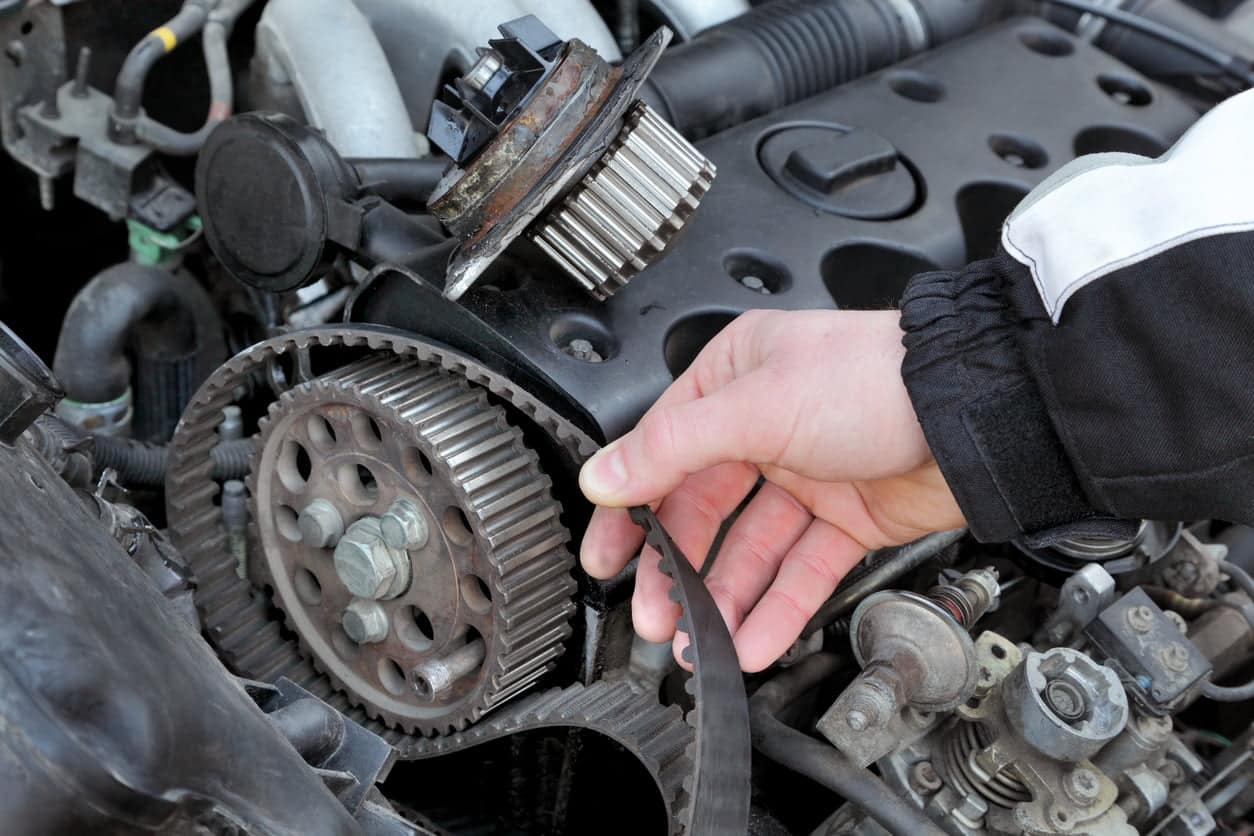
The timing belt is usually located in the engine bay just in front of the engine block. Frequently it’s protected by a plastic cover to prevent debris from getting into the timing belt.
Can you change the water pump without changing the timing belt?
In theory, it is possible to change the water pump and the timing belt separately although it isn’t recommended. These components are subjected to a similar level of wear during their lifetime, so it makes the most sense to change the pump and belt simultaneously.
How to Replace a Timing Belt and Water Pump
Replacing a timing belt and water pump does require a decent understanding of engines, so if you’re not that experienced working under the bonnet we’d advise you to leave it to the pros. But if you are and you enjoy doing your own repairs or restorations then it’s something you can do yourself, and save on some big repair bills in the process.
We’ll walk you through the process of replacing a timing belt and water pump step by step, starting with the tools you’ll need.
What You’ll Need to Replace the Water Pump and Timing Belt
- Socket wrench set
- Screwdrivers, including Philips and slot drive
- Allen key set
- Bucket or basin (for collecting coolant)
- Plastic bags and a permanent marker (for labelling nuts, bolts and parts you remove from the engine)
- Rubber gloves
- White paint/Tip-Ex/white chalk (for marking the cogs for simpler reassembly)
- New timing belt
- New water pump
- New coolant/antifreeze
Step 1: Preparation
First, prepare your car and work area. Changing a timing belt and water pump can take anywhere from 1-3 hours depending on your skill level, so make sure you have the time and space to complete the job. Do the following before you start:
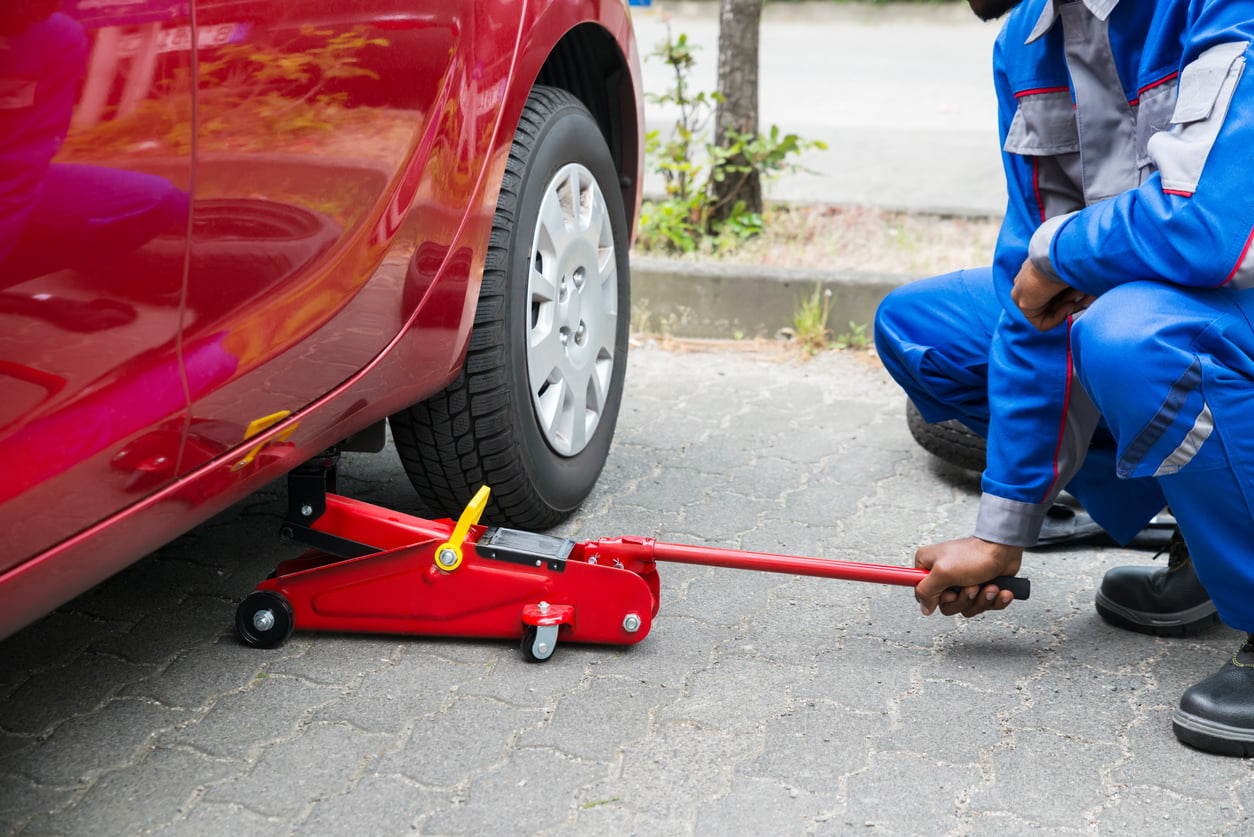
- Jack up the front of the car so you can access the undercarriage beneath the engine.
- Place a bucket under the water pump, as coolant will gush out when you remove it. Read the car manual to locate the pump.
- Get all your tools ready and have bags and a pen to hand for labelling and storing parts you remove from the engine.
- Make sure the engine is completely cool before you start.
- Put the engine in gear (to prevent it spinning when you’re removing the timing belt) and engage the handbrake.
Step 2: Removing the Belts
The fan belt and power steering belt sit beside the cover which houses the timing belt and water pump, so you’ll need to remove them first. Follow the steps below to remove the belts:
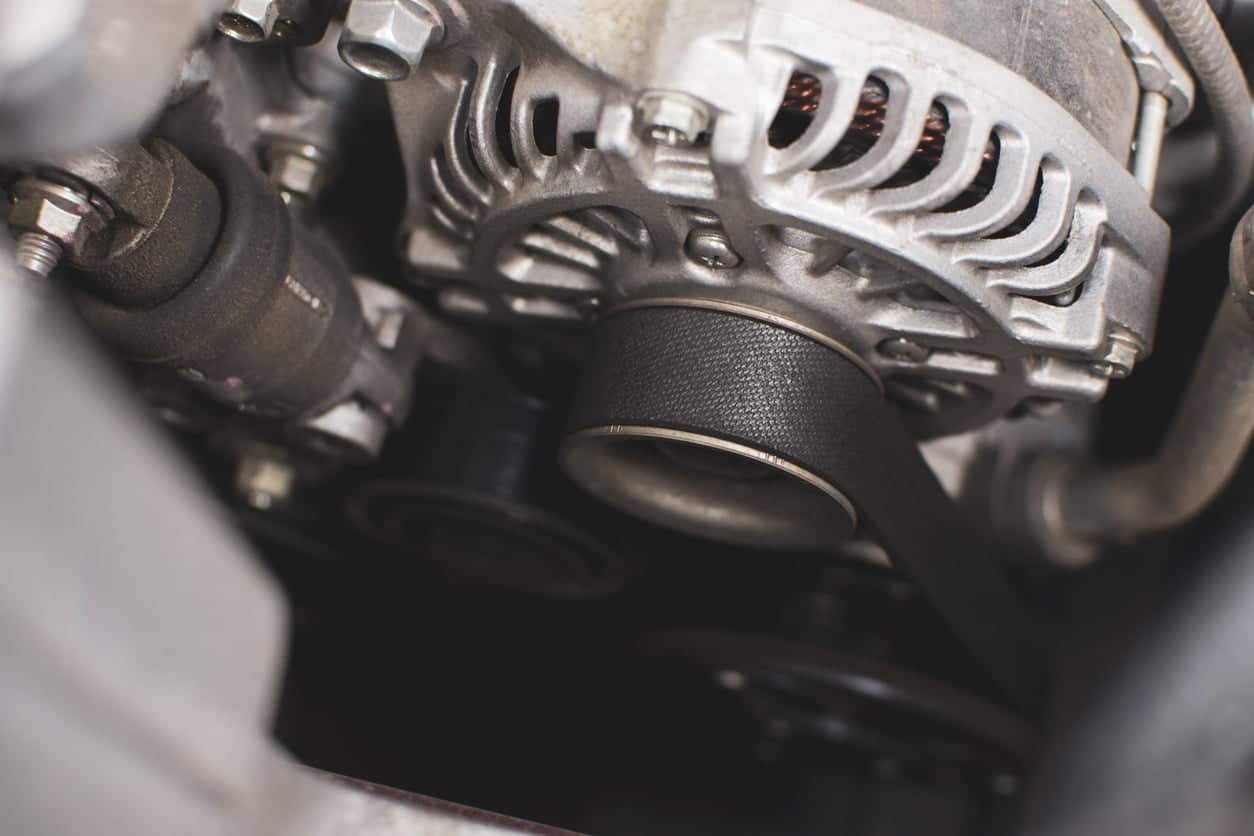
- Loosen the bolts which hold the alternator in position. Then tap it gently to loosen the fan belt so you can remove it.
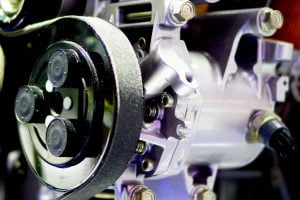
- Do the same with the power steering belt, sliding the belt out of the way to get to the timing case and crankshaft pulley.
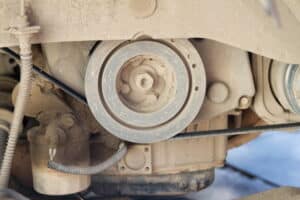
- Loosen the crankshaft pulley. You’ll need a good long wrench arm to reach into the engine to loosen the bolt off.
Step 3: Removing the Timing Case
The timing case covers the timing belt and water pump, so you’ll need to remove it. Now that the belts are removed and the crankshaft pulley is loosened, this should be a pretty straightforward job. Here’s how it’s done:
- Remove the motor mount brackets. There are usually two bolts or screws holding the mount in place, one on top and one on the side. Unscrew these and remove the mount.
- Next, loosen the bolts or screws holding the upper timing cover in place. This will reveal the crankshaft pulley, which you can now remove.
- You’ll then need to loosen a couple more bolts to remove the bottom timing case. Once you’ve done this you should be able to see the timing belt and water pump.
Step 4: Marking the Cogs
Before you loosen the pulley and remove the timing belt, it’s a really good idea to mark the cogs with a little white paint, Tip-Ex or chalk. This will make reassembly much easier, as the cogs will need to realign perfectly to ensure good engine performance. Here are the areas you should mark:
- The top cam, making sure the paint mark lines up with the top of the cog and the gasket.
- The bottom cam, following the same process as above.
- The cogs so you’ll be able to line things up correctly if anything slips when you remove the belt.
Step 5: Removing the Timing Belt
Here’s how to remove the timing belt:
- Loosen the middle tensioner cog in the middle of the timing configuration; it’s smaller than the two cams and will have a bolt on it.
- As you’re loosening the bolt, push down on the spring and move it downwards. Then, tighten the bolt to lock it in place. This will loosen the timing belt, allowing you to remove it.
- The belt should now have lost its tension and be easy to remove. Slide it out gently, being careful to avoid turning the cogs.
Step 6: Removing the Water Pump
Now it’s time to remove the water pump. Before you do this, make sure you have a bucket in place beneath the car to catch the coolant/antifreeze when you unscrew the water pump. Here’s what to do:
- Loosen the bolts on the water pump a little at a time to slowly drain the coolant. Removing the bolts entirely could cause coolant to spray out violently, so go slow and give the system time to drain before you fully remove the pump.
- When the flow of coolant has slowed to a drip you can fully remove the bolts and take out the water pump.
- Remove the old gasket (the piece of metal which connects the water pump to the cylinder head). You may need to get a slot head screwdriver behind it to jimmy it out, or it might just slide out easily.
- Tip – most new water pumps come with a gasket, so you don’t need to buy one separately.
Step 7: Reassembly
Now it’s time to reassemble the engine with the new water pump and timing belt. We’d always recommend replacing both components at the same time. The water pump and timing belt should be changed at an interval of 60,000 miles to prevent faults; this will also save you time and money, as the labour involved in dissembling the engine to replace these parts is time-consuming, and can be expensive if carried out by a garage. By replacing the two parts together, you’ll be saving time and money in the long-term. Here are a few points when reassembling:
- When you loosen the bolt on the tensioner (the middle cog you loosened and retightened to remove the timing belt) it will drop back into its original position, re-tensioning the new belt.
- Make sure the cogs still line up with the white marks you made earlier now the timing belt is in place and tight. You’ll need to unscrew the tensioner and realign them while the belt is loose if they’re a little off. Get them as close to the mark as you can.
- Now that the timing belt is back in place it’s just a case of retracing your steps to connect the timing cover, crankshaft pulley, motor mount brackets and belts.
 Step 8: Refill the Cooling System
The final step is to refill the cooling system with fresh, high-performance coolant/antifreeze. Here’s a recap on how to refill your car’s cooling system:
- Remove the coolant/antifreeze cap and top up the reservoir to the max fill line.
- With the cap still removed, run the engine for around 5-10 minutes. This will expel any air from the system and make sure it is properly filled. This is an important step, so don’t forget. If air pockets build in the cooling system, this could damage the new water pump you’ve just fitted – so make sure to run the engine for at least five minutes to expel any air.
- If the coolant/antifreeze level has dropped after running the engine, top it up before replacing the cap. And you’re done!
- Tip – Never run your car without first topping it up with good quality coolant/antifreeze. If you ‘run dry’ the cooling system, this could cause thermal shock and irreversible damage.
Remember – this is a guideline only and the layout/process of replacing the water pump and timing belt may differ in your car. Consult a professional mechanic if you’re in doubt and only carry out the work if you’re confident with working with engines.
When Should I Replace My Timing Belt and Water Pump?
The timing belt and water pump will need to be changed in line with the manufacturer’s recommendation; this is normally every 60,000 miles. Most people change both components at the same time to save on costs and time. This is because the labour involved in dissembling the engine to get at these parts is complicated and time-consuming, so you’ll be saving yourself lots of time by replacing them at the same time yourself, or lots of money if a garage is doing the work for you.
Signs that Your Timing Belt and Water Pump Need Replacing
There are a few signs that can tell you when your timing belt and water pump need replacing:
- Rough engine noise when idling
- Heavy vibration when idling
- Misfiring of the engine
- Excess smoke from the exhaust
- Drop in oil pressure, visible by an engine warning light or increase in temperature
How Long Does it Take to Change a Cambelt and Water Pump?
The time needed to change the cambelt and water pump varies from car to car, but on average it takes between. 4 and 6 hours. Some cars, with less obstructed belts and pumps, will require less preparation to grant access, meaning they won’t take quite as long to replace.
Although our guide is comprehensive and correct, this repair should only be undertaken by someone with the tools and knowledge to do so. Significant damage can be done to the engine if the cambelt or water pump is fitted incorrectly.
How Much Does it Cost to Replace the Timing Belt and Water Pump?
The cost of replacing a timing belt and water pump varies depending on your car. If you take it to a garage, you should expect to pay between £299 and £600 for the work. If you carry out the work yourself, you can pick up a timing belt and water pump kit for around £40 to £150.
That concludes our guide on how to replace cambelts and water pumps. By following this guide you should be able to confidently replace an important part of your engine yourself, building confidence and knowhow in the process.
At Holts, we’re passionate about helping you take care of your car. Our DIY car maintenance products and tools are designed to be easy to use either on the road or on your drive. For more information, visit the homepage today.

