When it comes to keeping your car in good condition, you may think about brakes, tyres and windscreens. However, it’s also important to ensure your headlights are in working order, and it may be helpful to know how to restore and replace them should they be showing signs of age or wear and tear.
In this guide, we’ll be talking you through restoring, replacing and repairing headlights so that you can maintain your car’s lights effectively.
Restoring vs replacing headlights
It may not be easy to know whether you can just restore your headlights or when they need replacing altogether. It’s crucial to check your headlights regularly, performing a visual inspection to decide on the best course of action.
Generally speaking, if visibility is poor and you can see less than the 100-metre rule, there’s a high chance you’ll need to replace your car’s headlight bulbs. Driving at night on an unlit road is one of the best ways to check the effectiveness and performance of your car’s headlights. If you’re struggling to see up to 100 metres ahead, this is a tell-tale sign that the bulbs need to be replaced.
Why do headlights become cloudy or discoloured?
Over time, the plastic covering car headlights can become foggy, cloudy or start to turn yellow, stopping the lights from shining as brightly, and possibly reducing your visibility. But why is it that headlights do this?
Here are some of the most common causes of cloudy or yellow headlights:
- Oxidation is when the clear protective coating on the polycarbonate headlight lens breaks down under UV radiation. Once that coating is gone, the polycarbonate underneath is left exposed and starts to oxidise, giving the lens a cloudy, yellowed appearance.
- Road damage can change the appearance of car headlights. When small stones and debris hits the plastic fascia of the headlights, they cause small marks which can cause the lights to look cloudy or foggy.
- Dirt and pollution can change the appearance of plastic car headlights over time, when a thin layer builds up on the surface. This opaque layer of dirt diffuses and dims the light, interfering with the strength and direction of the main beam.
- Condensation can cause a build-up of moisture behind the headlight cover, resulting in a foggy appearance that can weaken the strength of the lights. Condensation can occur if the headlight cover hasn’t been reinstalled properly following a bulb change, or if there’s a problem with the seal around the edge of the plastic.

How long do car headlights last?
Headlight bulbs do have a limited lifespan and will naturally dim over time, which is something to think about if you keep your car for a number of years. For example, LED headlights can last up to 30,000 hours, while halogen bulbs will only last around 500-1,000 in comparison.
4 steps to restore car headlights
It’s possible to restore car headlights if they’ve been impacted by the likes of oxidation or road damage. Here are 4 simple steps to help you get started, using the tools from our Headlight Restoration Kit.
Step 1: Make sure your headlights are clean, washing them with standard car shampoo and dry them. It’s up to you whether you remove the headlights or leave them on your car, but remember to cover the surrounding area with masking tape for protection.
Step 2: Wet the headlight and begin sanding, working in even lines over the surface of the headlight to remove scratches and oxidation. It’s really important to keep the headlight wet while you’re sanding, to avoid any burning from the drill. You will find the correct drill sanding attachment as part of our Holts Headlight Restoration Kit. Continue sanding with the different sandpapers included until you have a smooth, consistent finish.
Step 3: Attach the buffer to the drill and apply a small amount of polish. This will remove any remaining sanding marks and restore a clear finish to the plastic. Remember to work in even lines to get the best possible finish.
Step 4: Spray the headlights with the sealer provided, which will help protect the finish and prevent the headlight from becoming hazy and oxidised in the future. Finish by giving the headlight a final buff with a dry chamois or paper towel, and you’re done.

How to replace your headlight bulb in 4 steps
Of course, if it’s just the bulb that has gone and needs replacing, you can also do this in a few simple steps:
1. Start by locating the rear of the headlight assembly. This will usually be mounted in a gap in the front bumper, which you can access under the bonnet. Check your car’s manual if you’re not sure.
2. Next remove the power cables from the back of the headlight assembly. They’re normally secured by a plastic catch or screw fitting. Then, you should be able to draw the bulb out of the assembly and remove it.
3. From here, it’s a case of fitting the new bulb. Make sure you handle it with care; we’d recommend wearing rubber gloves to prevent fingerprints and moisture getting on the new bulb. Wipe it down with an alcohol cleaning wipe to make sure it’s free from lint or any other marks which could shorten its life or impair its performance.
4. When the bulb is in place, reconnect the wires and be sure to test to make sure the bulb is working – and you’re done.
How to repair a cracked headlight lens
Restoring your headlight and replacing the bulb are easy enough, but what about if the headlights are damaged or cracked? It all depends on how badly damaged the headlight lens is. If there’s only a small crack, you may be able to repair it to prevent moisture getting into the assembly. If the crack is large or the lens is shattered, you’re going to have to get a new headlight.
Here are some how-to instructions to repair your headlight lens:
Step 1: Start by cleaning the affected headlight to remove all traces of dirt, dust and grime. Remember to use the two-bucket method to prevent dirt on the sponge leaving micro scratches on the plastic surface. When you’re done, dry the area thoroughly.
Step 2: Apply a small amount of car polish to the headlight in a smooth, circular motion. Make sure you apply plenty to the damaged area, as this will even out the surface and help the sealant to stick firmly.
Step 3: Protect the area of the headlight lens around the damaged area with masking tape.
Step 4: Apply a thin strip of clear silicone to the crack using a sealant gun, before wiping away any excess with the paper towel. Leave this to set, preferably overnight (make sure your car is covered if rain is forecast). You can also use a two-part epoxy adhesive like Loctite Epoxy, or a cyanoacrylate super glue, to seal the crack.
Step 5: When the sealant is completely dry, apply another layer of polish to even out the area. Then, apply a generous coating of car wax to help protect the area, and buff to a high shine.

Replacing the headlight assembly
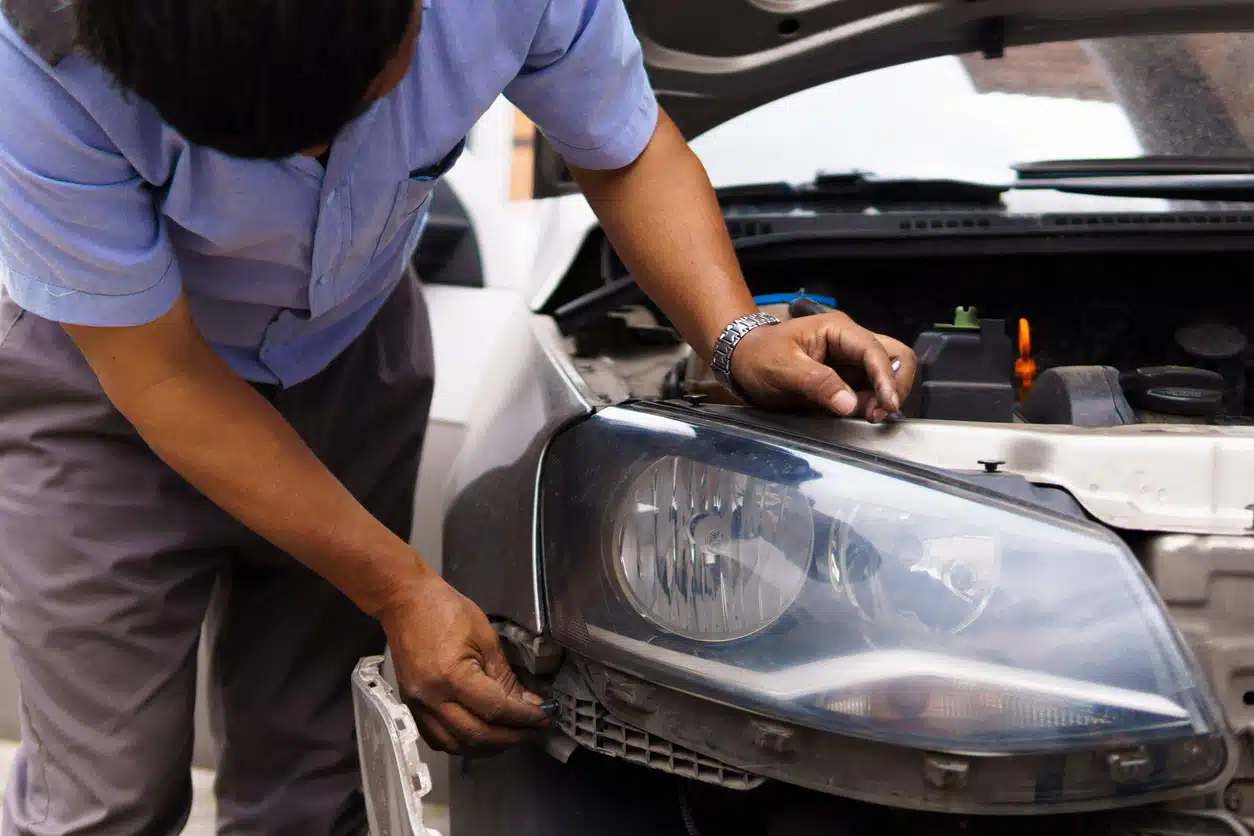
In some cases, you might need to replace the entire headlight assembly. This could be due to severe oxidation, deep scratches or cracks, broken adjusters or moisture in the assembly. While it might sound difficult to replace, it’s straightforward enough if you have the right tools including a wrench and socket set, and a Phillips screwdriver. Here’s a step-by-step guide to replace the headlight assembly.
Step 1: Loosen the front bumper. Locate the bolts that holt the front bumper in place. Normally, there are between 2-4 under the bonnet at the front of the engine and a couple beneath the front of the car.
Step 2: Remove the old headlight assembly. Disconnect the bulb cables using the plastic connector catch, and loosen each screw while holding the assembly in place. Slide the old headlight assembly out towards you, making sure the cable connectors are properly disconnected and out of the way.
Step 3: Install the new headlight. Clean the area and install the new headlight, making sure every connection is tight. Reconnect the lightbulb cable and test the headlight too. You should also check the headlight beam is at the right height when dipped. There are a couple of screws which can help you change the height of the beam, so make sure these are adjusted so that the beam is the same as the other headlight.
Looking after your car’s headlights
Restoring or repairing your headlights is one thing, but in order to prevent damage or wear and tear in the future, it’s important to look after your headlights and maintain their appearance. Here are a few practical tips to keep in mind:
- When cleaning your car’s paintwork, don’t polish the headlights. Polishes with any grit content can wear down the clear coat, making them more susceptible to UV, pollution and marks. If you do want to polish the lights, make sure the product you use doesn’t contain any grit, or use a clear coat sealant spray afterwards to restore the protective coating of the lights.
- Keep the lights clean. As part of your regular wash cycle, you should make sure that the lights are clean, preferably using standard car shampoo. Removing the thin layer of dirt and pollution from the lights can prevent discolouring, and it will reduce the effects of UV radiation.
- Park out of direct sunlight in the summer months to prevent UV rays damaging the headlights. If you’re storing a car for a long period, we’d recommend covering it to stop UV eating away at the protective clear coat of the headlight covers.
So, there you have a comprehensive guide to headlight restoration and replacement. For more tips and advice, head to our blog or browse our car maintenance products to find the right solution for your needs.